Add Another Property
How to Add a New Property
If you manage more than one holiday rental, you can add additional properties to your Book It Fast account. Each property has its own settings, bookings, tariffs, and cleaning schedule.
Step 1: Open Organisation Settings
From the sidebar, click View All Properties or “add new property”
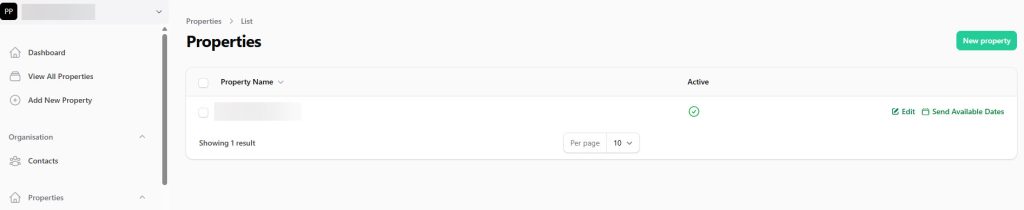
Step 2: Click New Property
Click the green New property button in the top-right corner of the Properties section. A form will appear asking you to enter the property name.
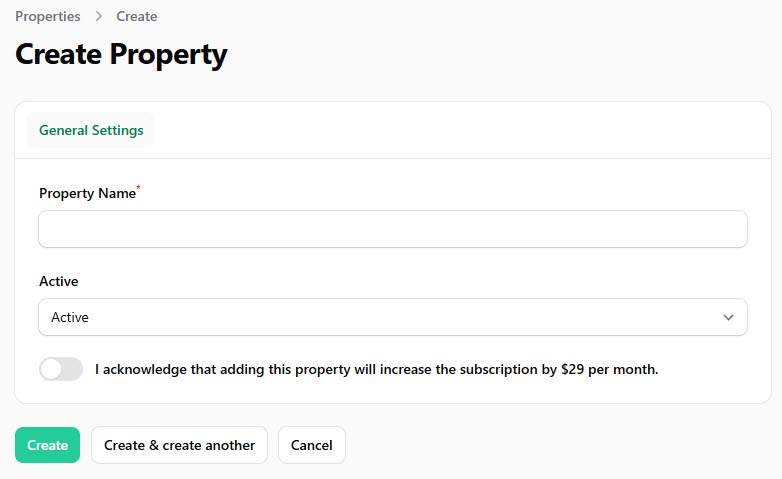
Step 3: Enter the Property Name
Type the name of your new property in the Name field. This is the name that will appear in the sidebar property selector, in guest communications, and on your booking page. Click Save changes to create the property.
Step 4: Switch to the New Property
Once created, your new property will appear in the Properties list. To start configuring it, use the property selector in the top-left corner of the sidebar. Click the dropdown and select your new property. The admin panel will switch to show settings and bookings for that property.
Configure Your New Property
After switching to your new property, you will need to set up its details. The following settings are available in the property configuration:
Basic Details
- Address, Suburb/City, Postcode, Country — your property’s physical location
- Primary Email — the email address for guest communications
- Primary Phone — contact number for the property
Booking Settings
- Default Check In Time — when guests can arrive (e.g. 3:00 PM)
- Default Check Out Time — when guests must leave (e.g. 10:00 AM)
- Bond Amount — the security deposit amount for this property
- Bond Days Before Booking — how many days before check-in the bond is collected
- Booking Script URL — the URL on your website where guests can make bookings
Cleaning
- Default Cleaner — assign a cleaner who will be automatically assigned to new bookings for this property
Additional Setup
Depending on your needs, you may also want to configure:
- Tariffs — set nightly rates and seasonal pricing under Property Settings > Tariffs
- Distributions / Booking Channels — connect to Airbnb, Booking.com, VRBO, or Stayz under Property Settings > Distributions
- Cancellation Rules — define your cancellation policy under Property Settings > Cancellation Rules
- Booking Extras — add cleaning fees, Wi-Fi charges, and other extras under Property Settings > Booking Extras
- Property Images — upload photos to showcase the property
Switching Between Properties
You can switch between your properties at any time using the property selector dropdown in the top-left corner of the sidebar. When you switch, the dashboard, bookings, calendar, and all settings update to show data for the selected property.
Tips
- Organisation-level settings are shared. Settings like email templates, deposit rules, check-in details, and gift certificates apply to all properties in your organisation.
- Property-level settings are independent. Each property has its own tariffs, bond amount, check-in/out times, cleaning assignments, and booking channels.
- Set up booking channels early. If you list on Airbnb or Booking.com, connect these distributions soon after creating the property to start syncing bookings.
- Assign a cleaner. Set a default cleaner for the property so cleaning tasks are automatically assigned when bookings come in.